Step-by-step guide to create a new Cocoa Xcode application project which contains an Hello-World httpd server implemented using Noze.io. It shows how to create the Cocoa project, how to create a Workspace and how to link the Cocoa app to Noze.io. This is the code we want to run inside the app:
http.createServer { req, res in
  res.writeHead(200, [ "Content-Type": "text/html" ])
  res.end("<h1>Hello World</h1>")
}
.listen(1337)
A simple HTTP server which just prints “Hello World”. To connect to the server, use http://localhost:1337/.
Key tumbling stone: Remember to adjust the Build Configuration name.
Noze.io as a cross-platform project uses
AppKitDebug, AppKitRelease, UIKitDebug etc,
The Xcode default is just Debug and Release.
Create a new project
The standard steps:
- Select “New Project” in the Xcode file menu,
- select “Cocoa Application” as the template,
- give it a kewl name.
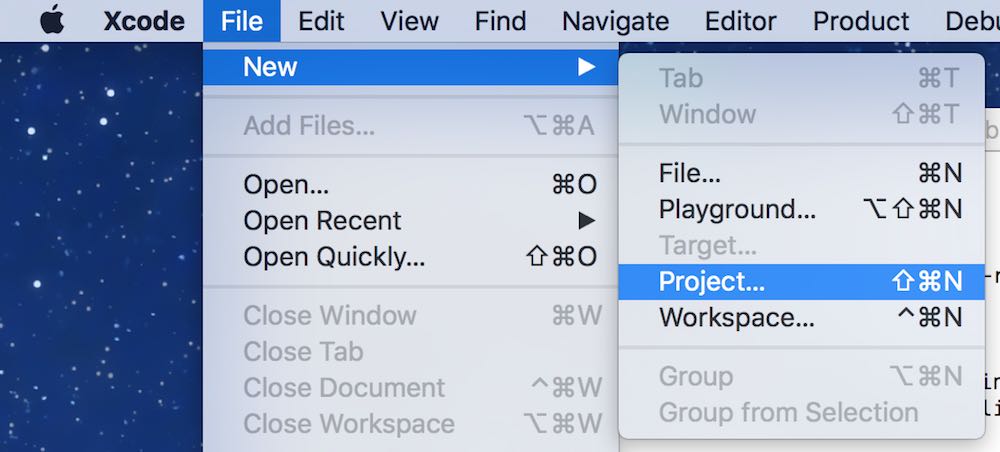
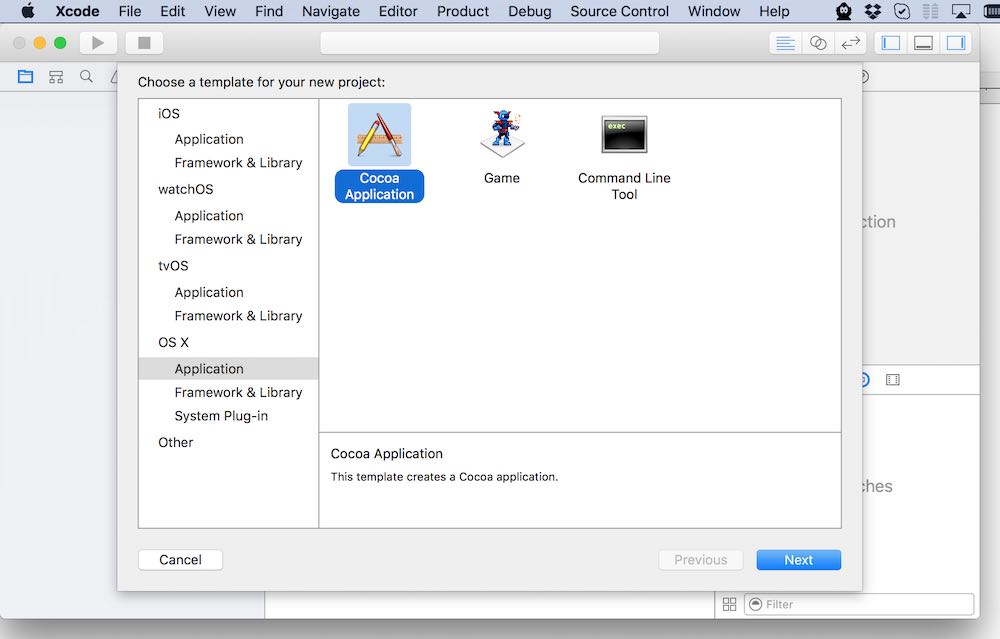
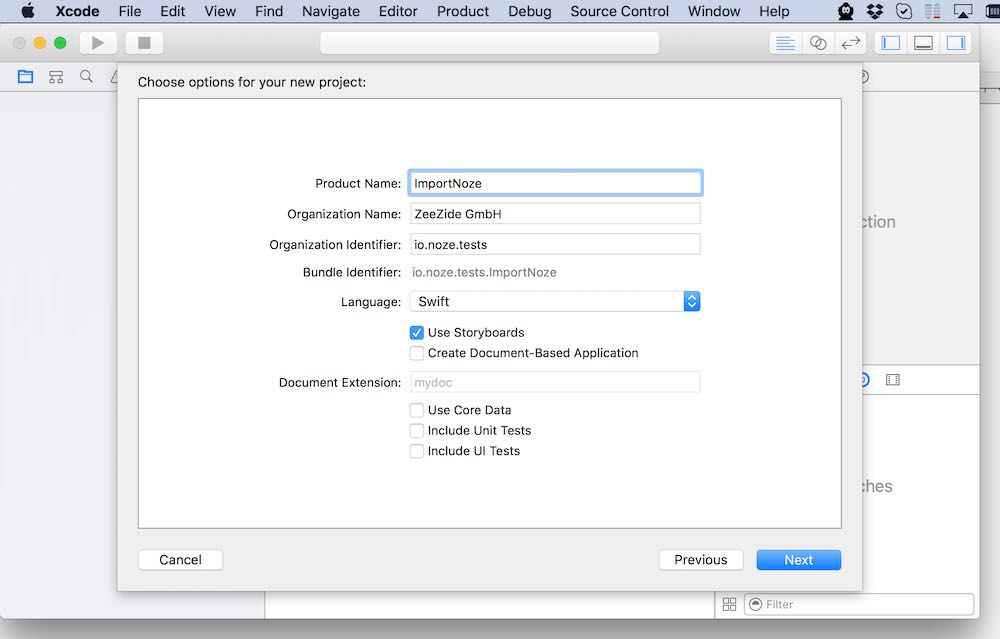
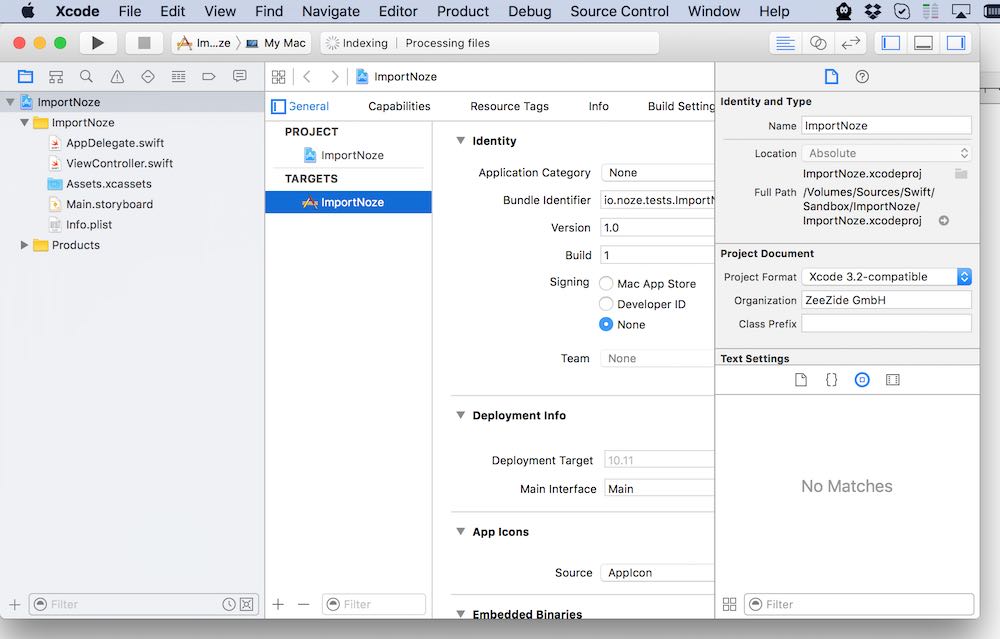
Create a Workspace
A workspace is a container for multiple projects. The advantage is that projects embedded into a workspace can directly use the build products of other projects in the same container. In this case the ‘project’ is our Cocoa app and the ‘other project’ is Noze.io, which we want to link against.
Steps:
- Select “New Workspace” in the Xcode file menu,
- give it an awezome name,
- with the new workspace selected, chose “Add Files to ‘Workspace’” in the Xcode file menu,
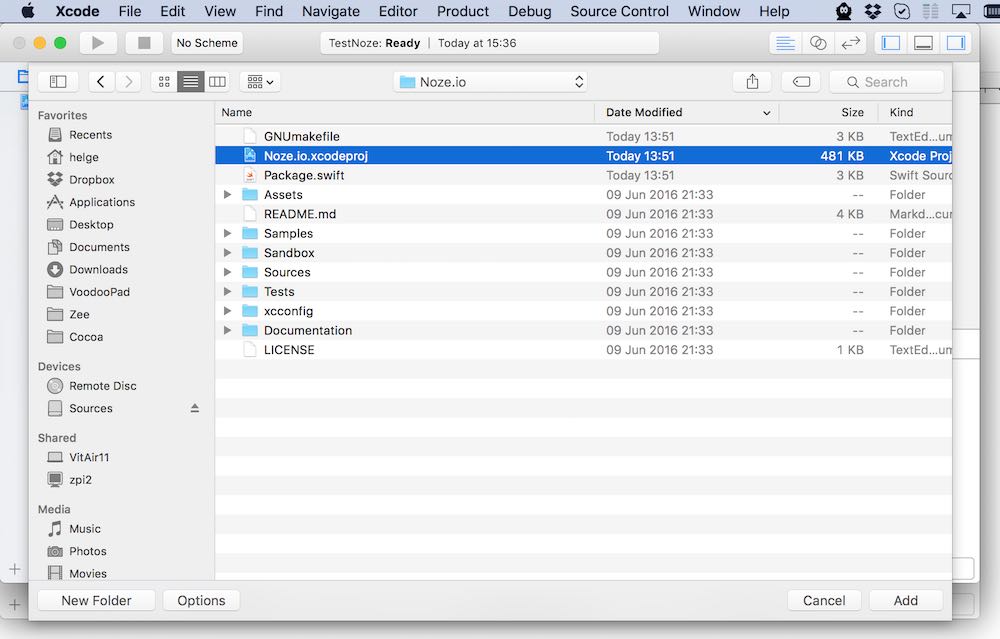
- add the Cocoa application xcodeproj we created above,
- add the Noze.io.xcodeproj.
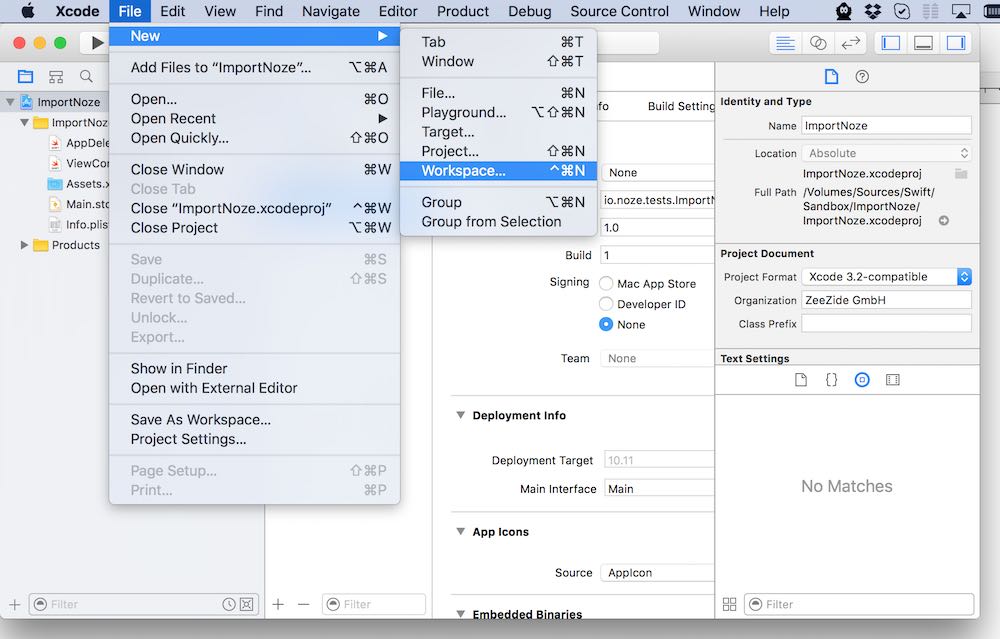
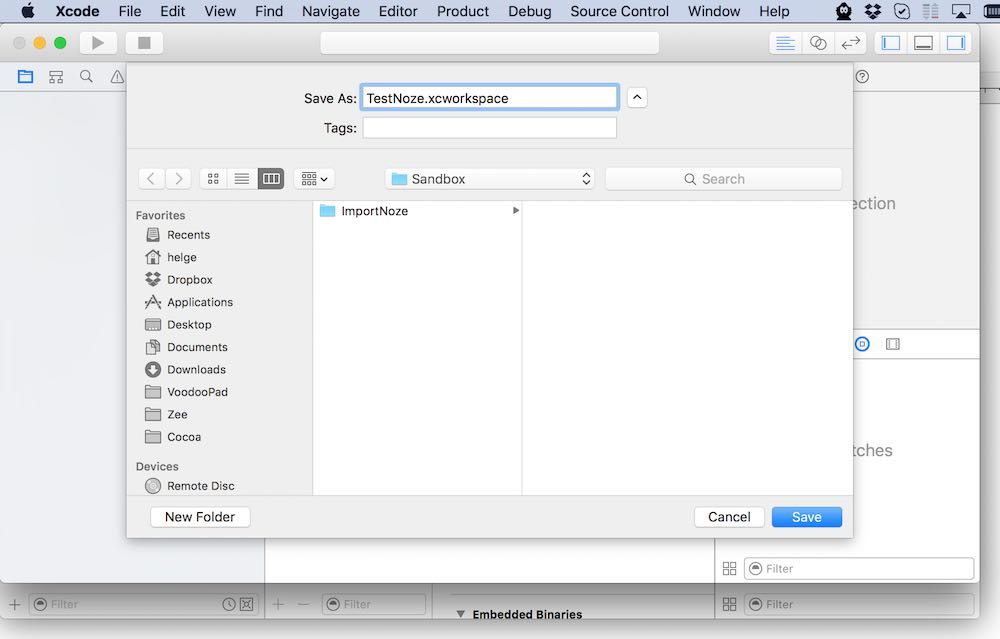
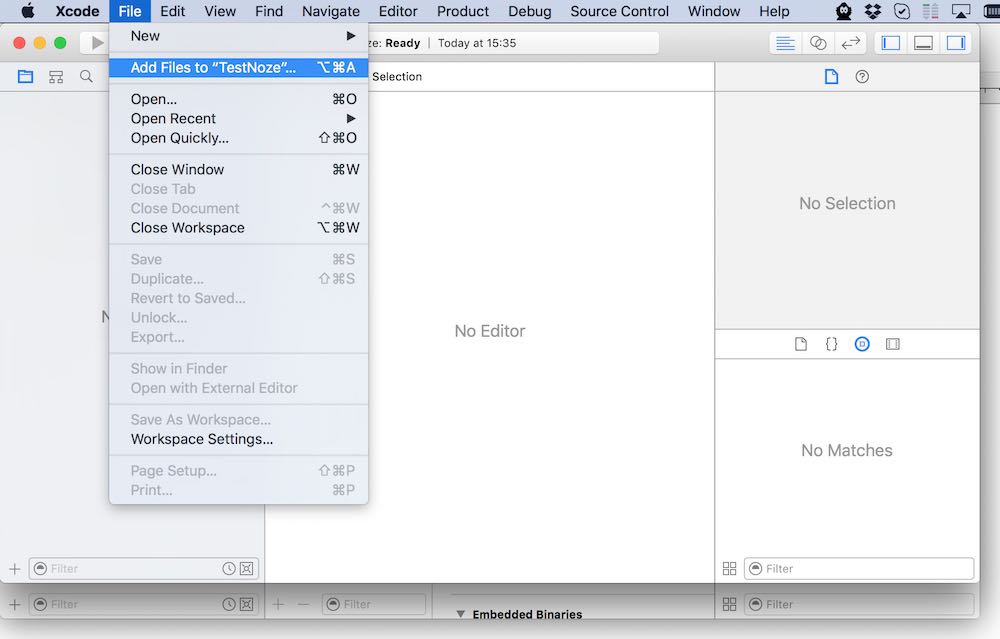
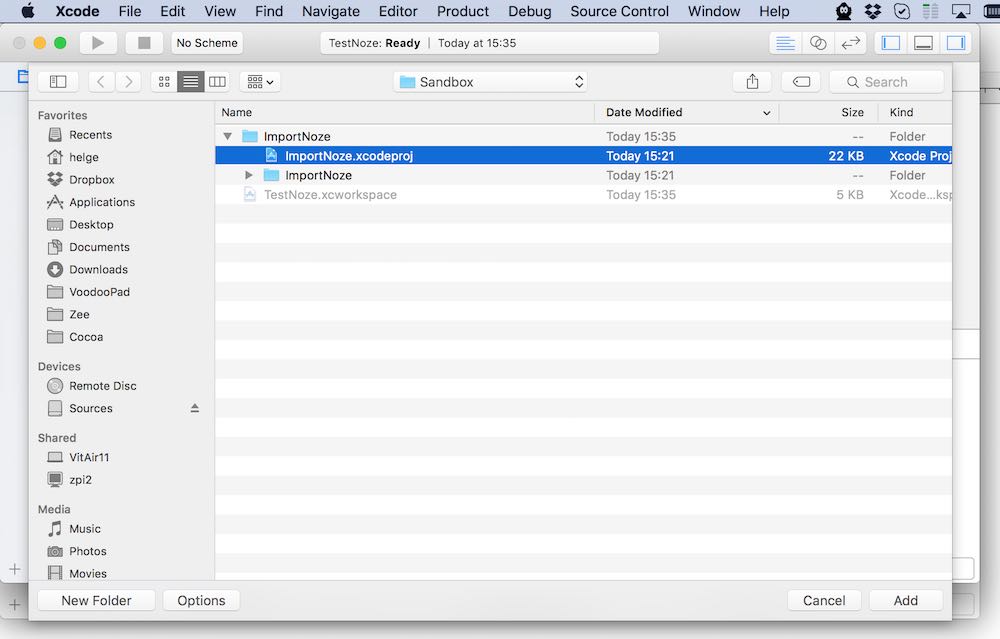
Add code and link to Noze.io
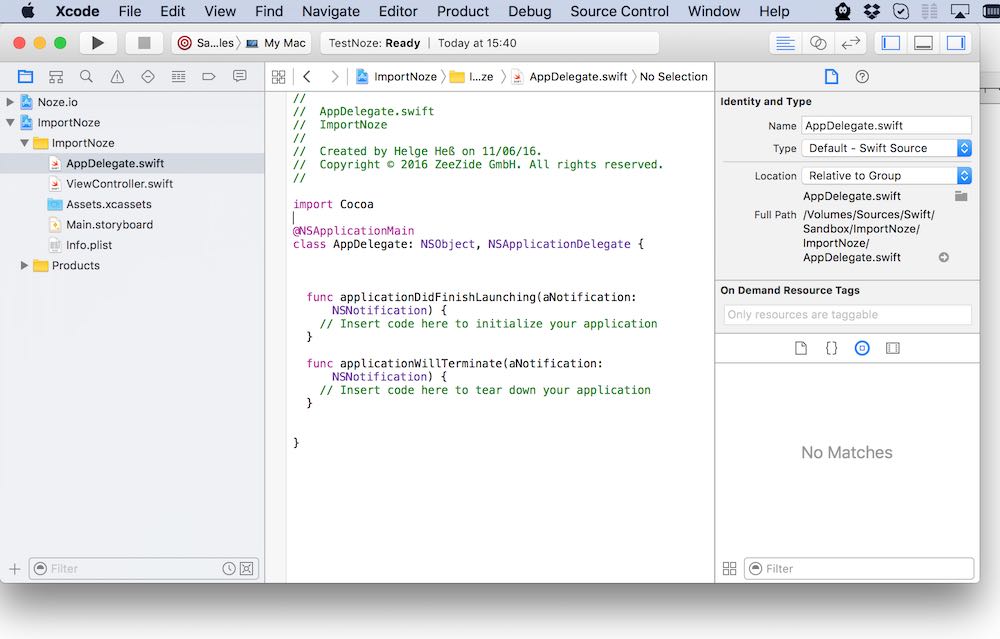
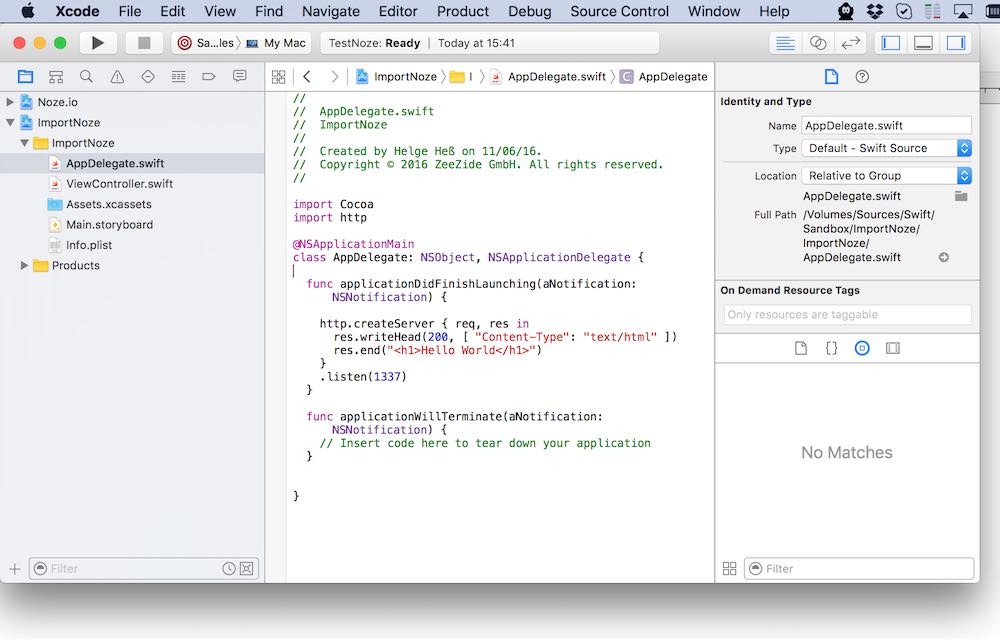
Next add the code to the AppDelegate.swift of your app, in the
applicationDidFinishLauncing() function as shown in the screenshot:
http.createServer { req, res in
  res.writeHead(200, [ "Content-Type": "text/html" ])
  res.end("<h1>Hello World</h1>")
}
.listen(1337)
And
import http
at the top of the file. Xcode should show an error that it can’t import
http.
The workspace/project configuration needs a few adjustments, steps:
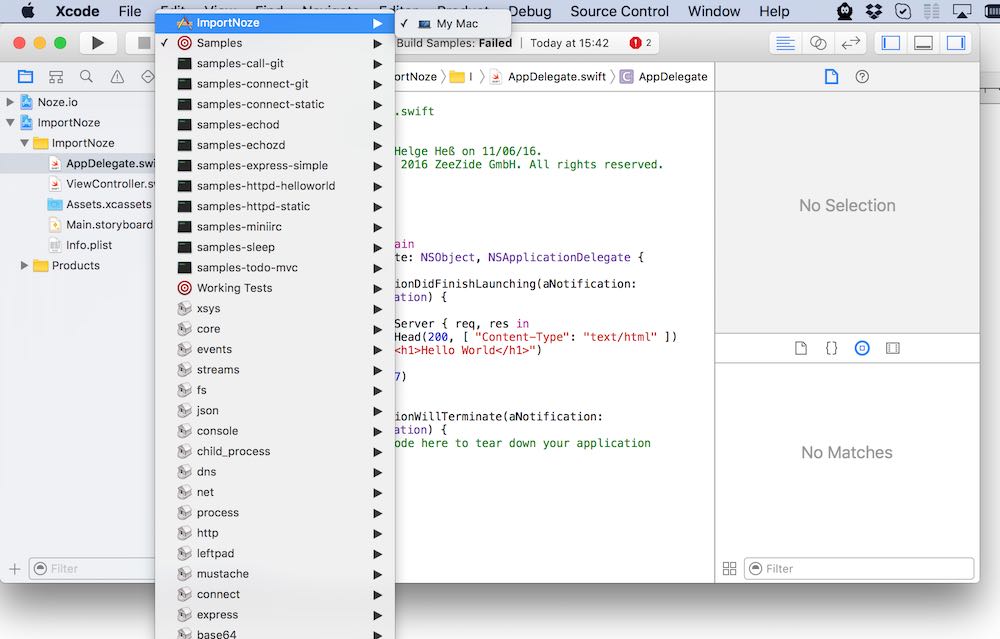
- Make sure to select the scheme belonging to your application in the Xcode scheme popup. Xcode will auto-create plenty of schemes for all the Noze.io modules. Ignore/delete the ones you don’t like.
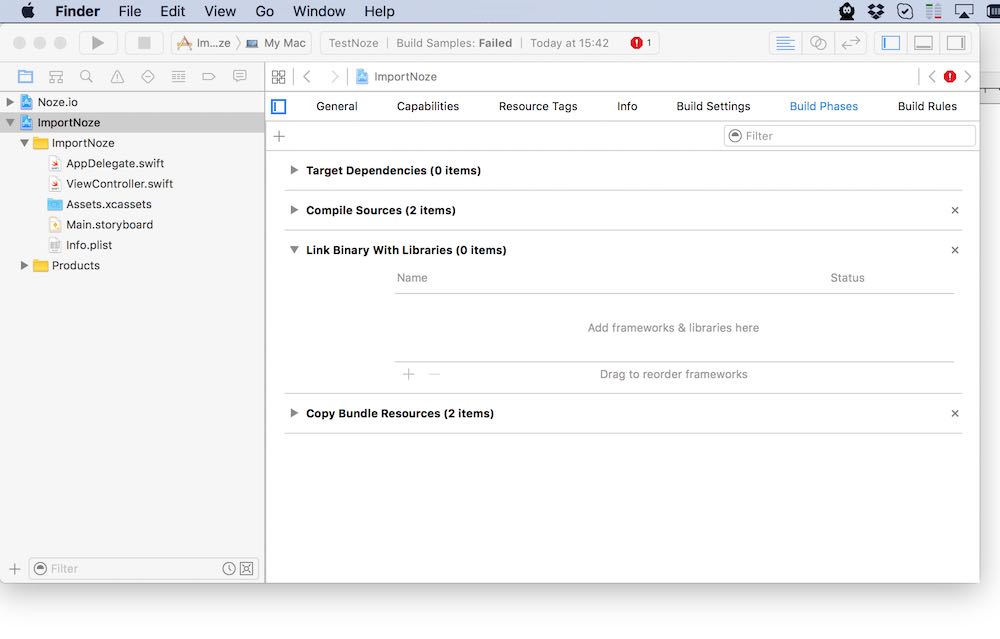
- Select your Cocoa application project, the Target, and the ‘Build Phases’ tab.
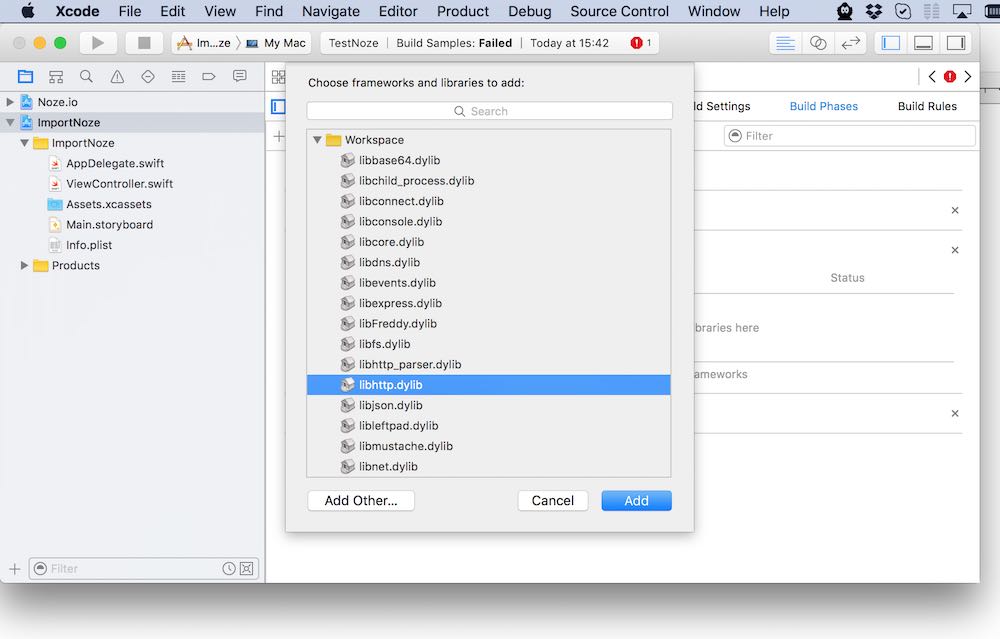
- Open the “Link Binary with Libraries” section and hit the “+” button.
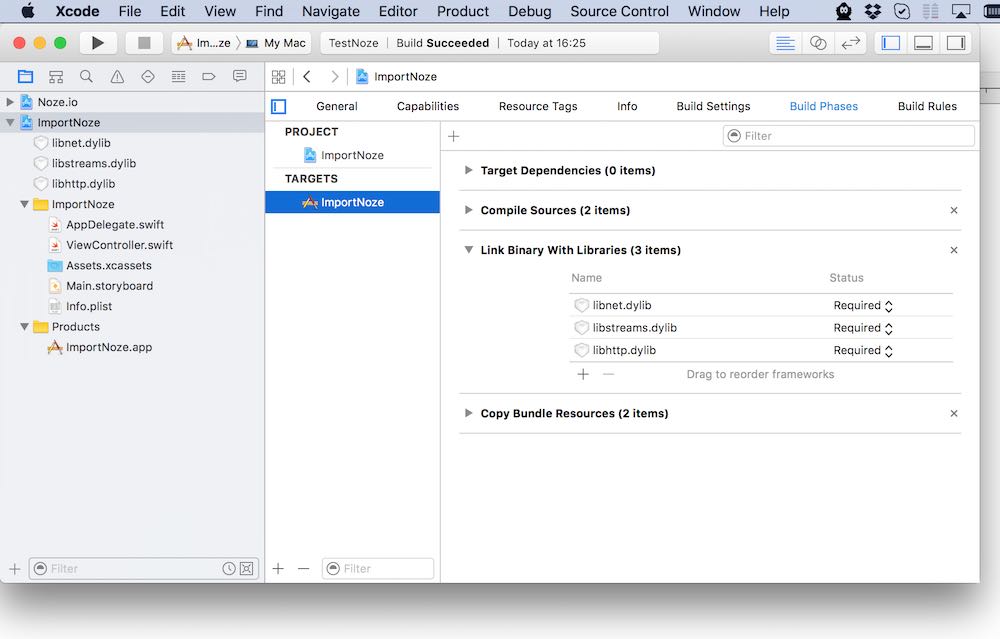
- Add the following libs from the workspace:
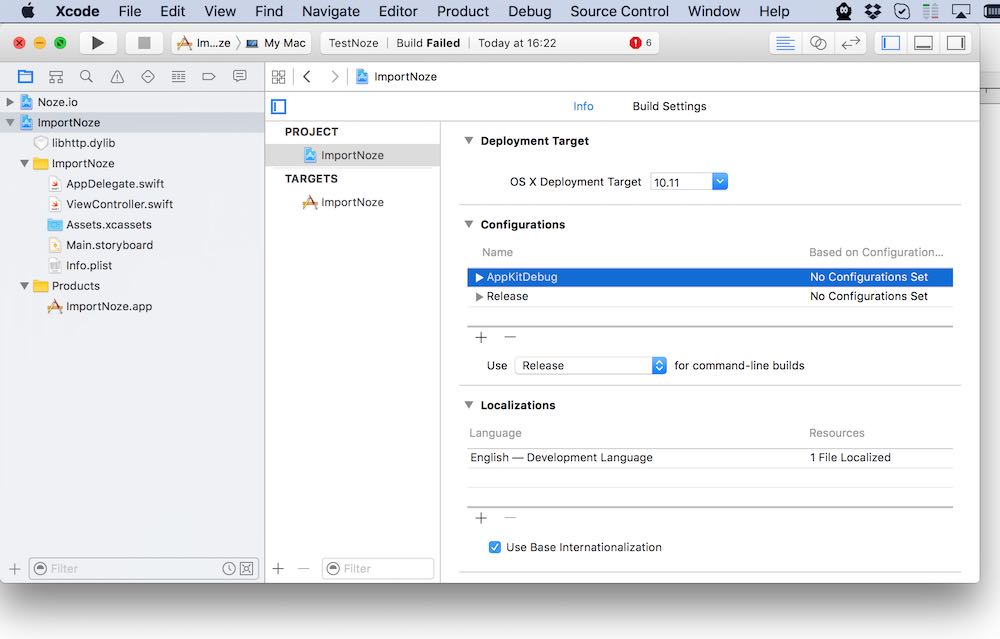
libstreams.dylib,libnet.dylib,libhttp.dylib. - Select the Cocoa application project, then the “Info” tab:
rename the configuration
DebugtoAppKitDebug. - Build & Run
Mission accomplished.
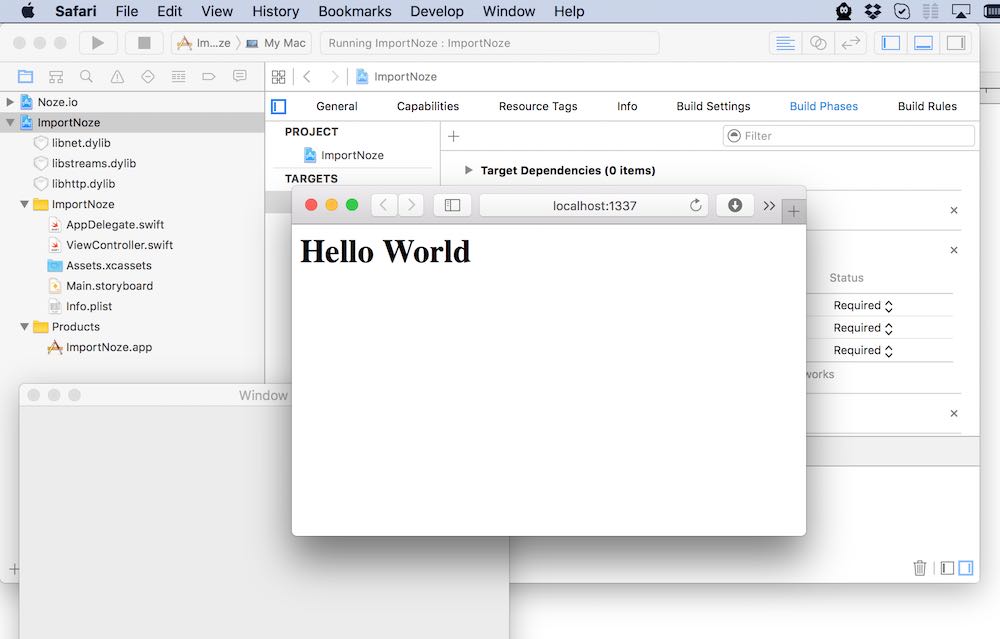
Depending on which Noze.io modules you use, just add the required modules to the “Link Binary with Libraries” list. Or just add all if you want to play with everything ;-)
Need help with anything? Feel free to join either the mailing list or the Slack:

